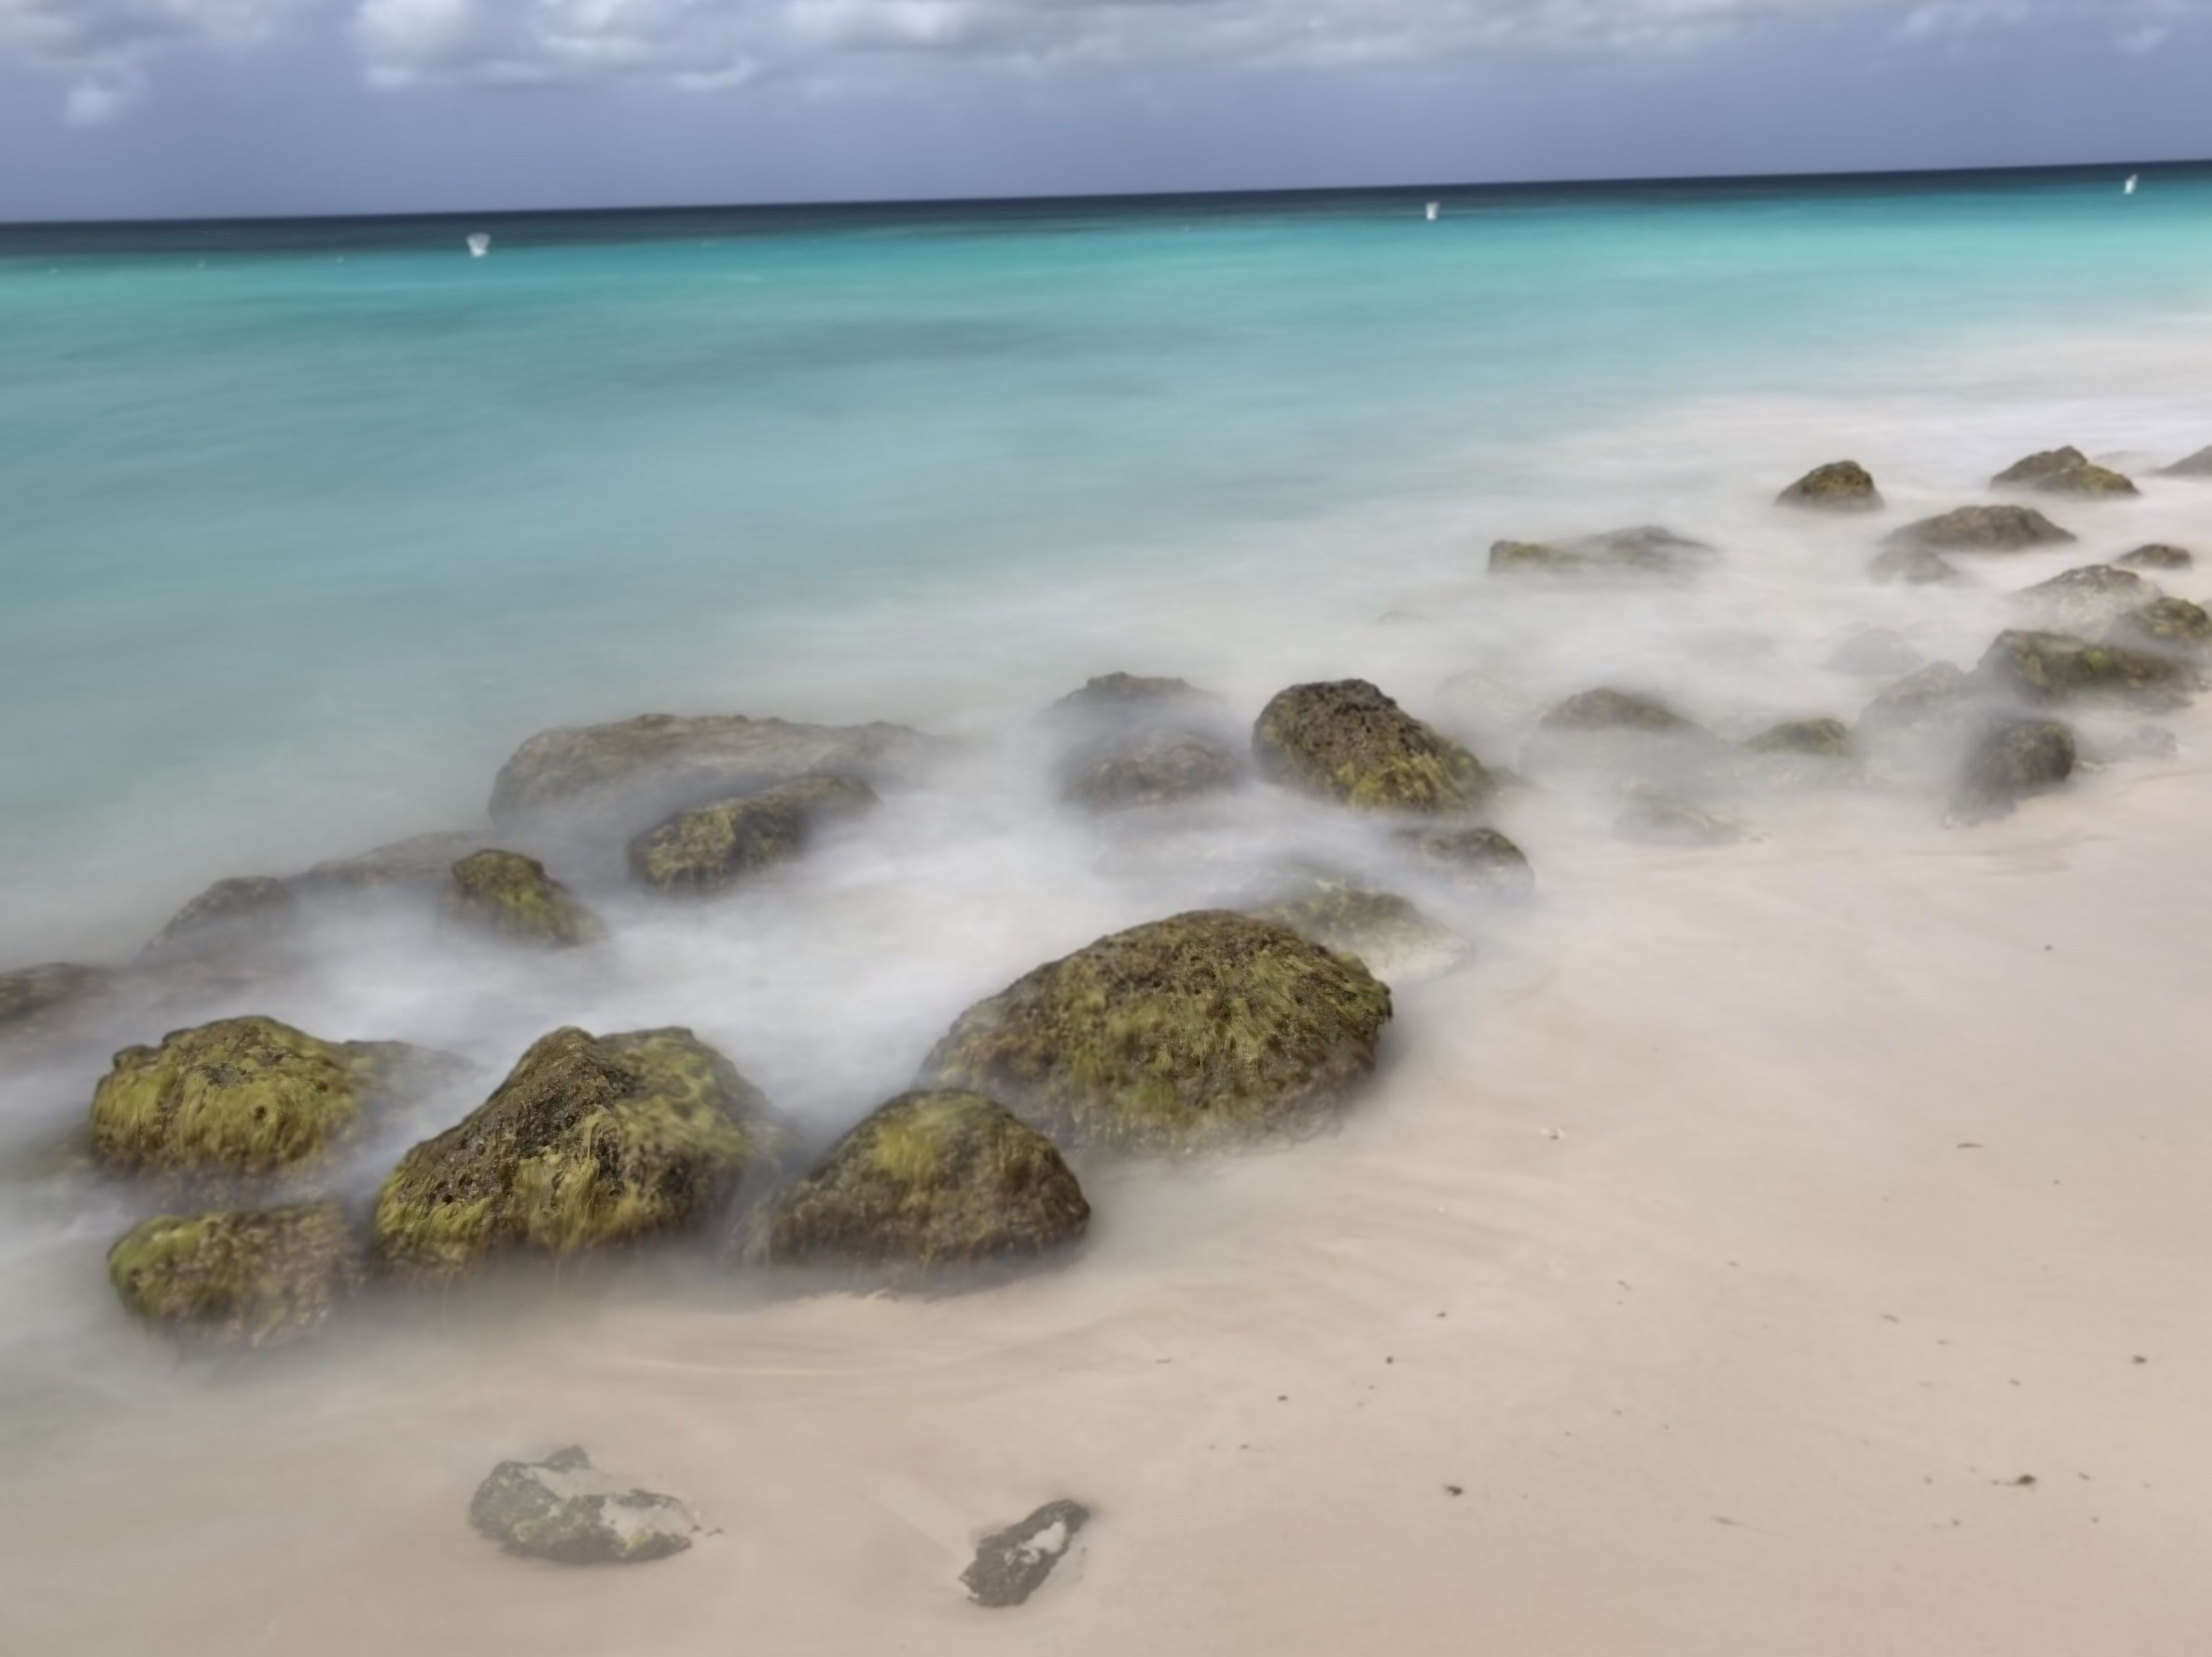
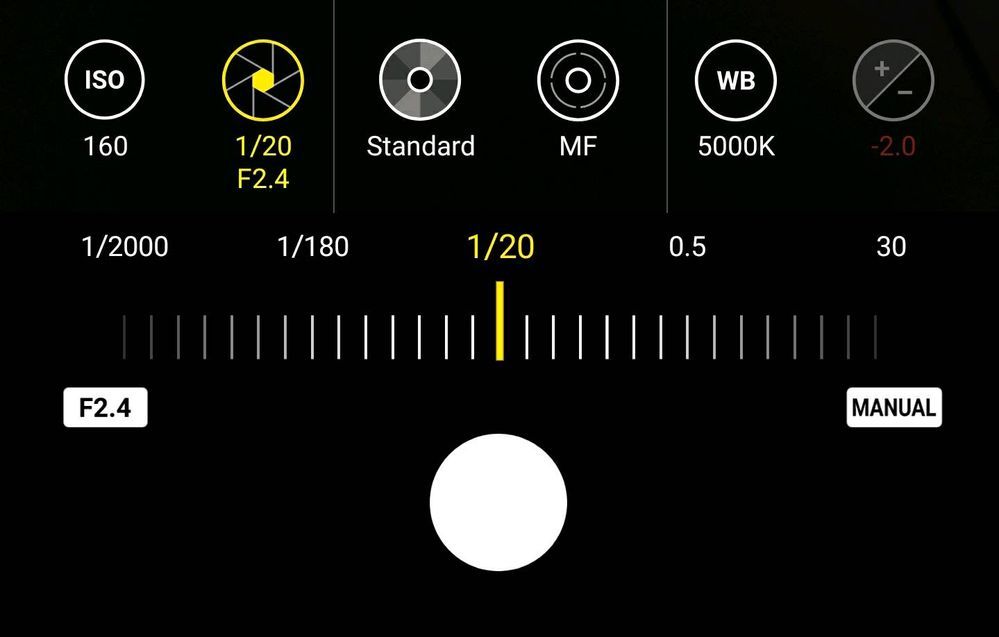
Content is not complete yet. Content will be added as we cover topics.
Camera Phone Tips
Long Exposure Using Live or Motion Photos
How to take a "long exposure" using live or motion photos on your camera phone.
Holding Your Camera Phone
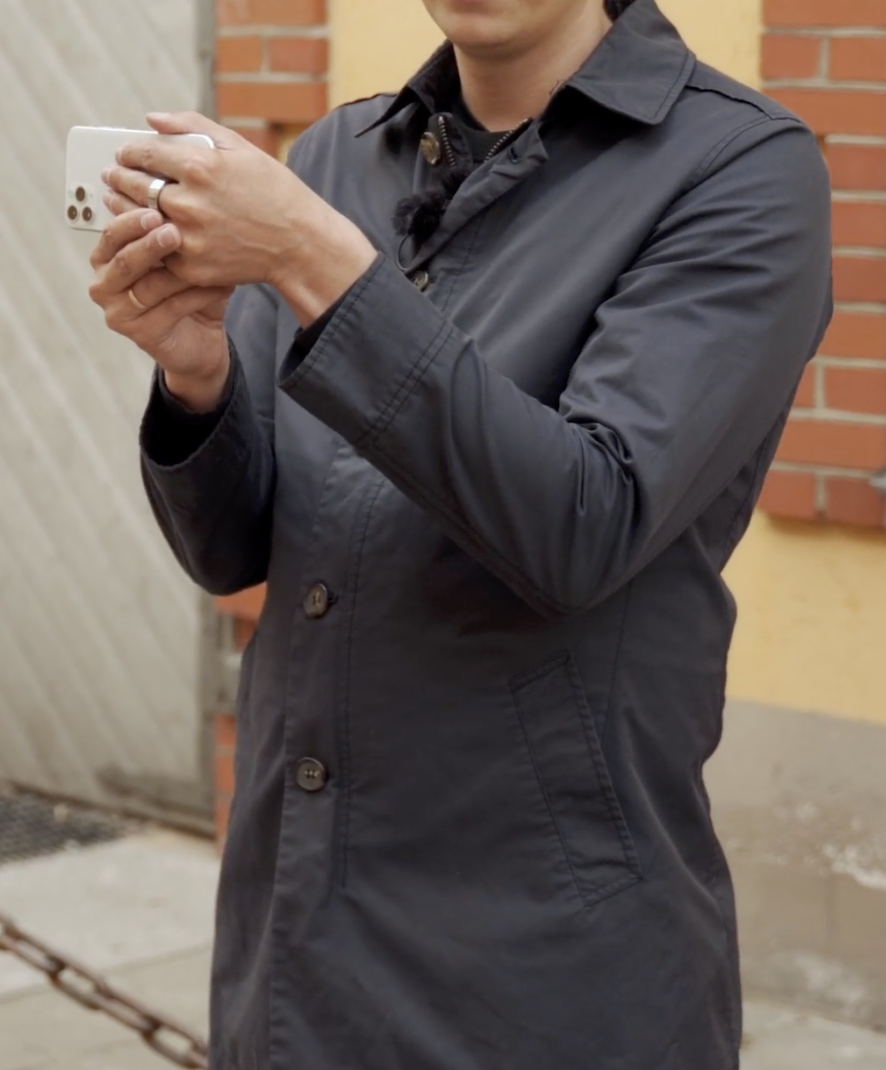
Put the Camera in Your Dominant Hand
- Hold the camera in your dominant hand
- Put 3 fingers across the back of the phone
- Place the pinkie on one side and thumb on the other
Cradle with Your Other Hand
- Cradle your hand with your other hand
- Use the thumb of the hand not holding the phone to tap the shutter
Keep Your Elbows Tucked In
- When possible, resist holding your phone out away from your body. This leads to shake.
- Hold the phone closer to your body with your elbows tucked in to your sides making a "human tripod" or support.
AE/AF Lock
Sometimes when you place things off-center you lose focus or the exposure is wrong.
When you are composing according to rule of thirds, sometimes the camera can get confused because the subject isn't in the center. This is when you need to lock the focus point and the exposure. Simply tap and hold on the screen where you want the focus point to be. This will lock BOTH the focus and exposure. You can then slide your finger up and down the screen to adjust the exposure up or down from the lock point. Both the focus and the exposure will stay locked no matter where you point your camera. When you are ready to release the lock, simply tap anywhere on the screen again.
For manual and SLR cameras, frequently you need to push the shutter button half-way down to lock the focus and while holding the button half way, recompose the image according to rule of thirds.
Pro Tip: ALWAYS Focus on the Eyes
Whether it's a person or animal, always always always focus on the eyes. The rest of your image can be a hot blurry mess but if the eyeball is in focus, everyone will marvel at what a beautiful amazing image. It's kind of crazy.
Pro Tip: Underexpose Sunrise/Sunsets
Ever take an image of a sunrise or sunset and it just looks washed out? This is because the camera is exposing for the ground. Lock the focus/exposure on the ground then drag the exposure down to underexpose the image and BOOM the beautiful sunset you are seeing emerges.
I believe this works the same for both iphone and android
Grid for Rule of Thirds
Most cameras have a way to turn on a grid that helps you compose according to the rule of thirds.
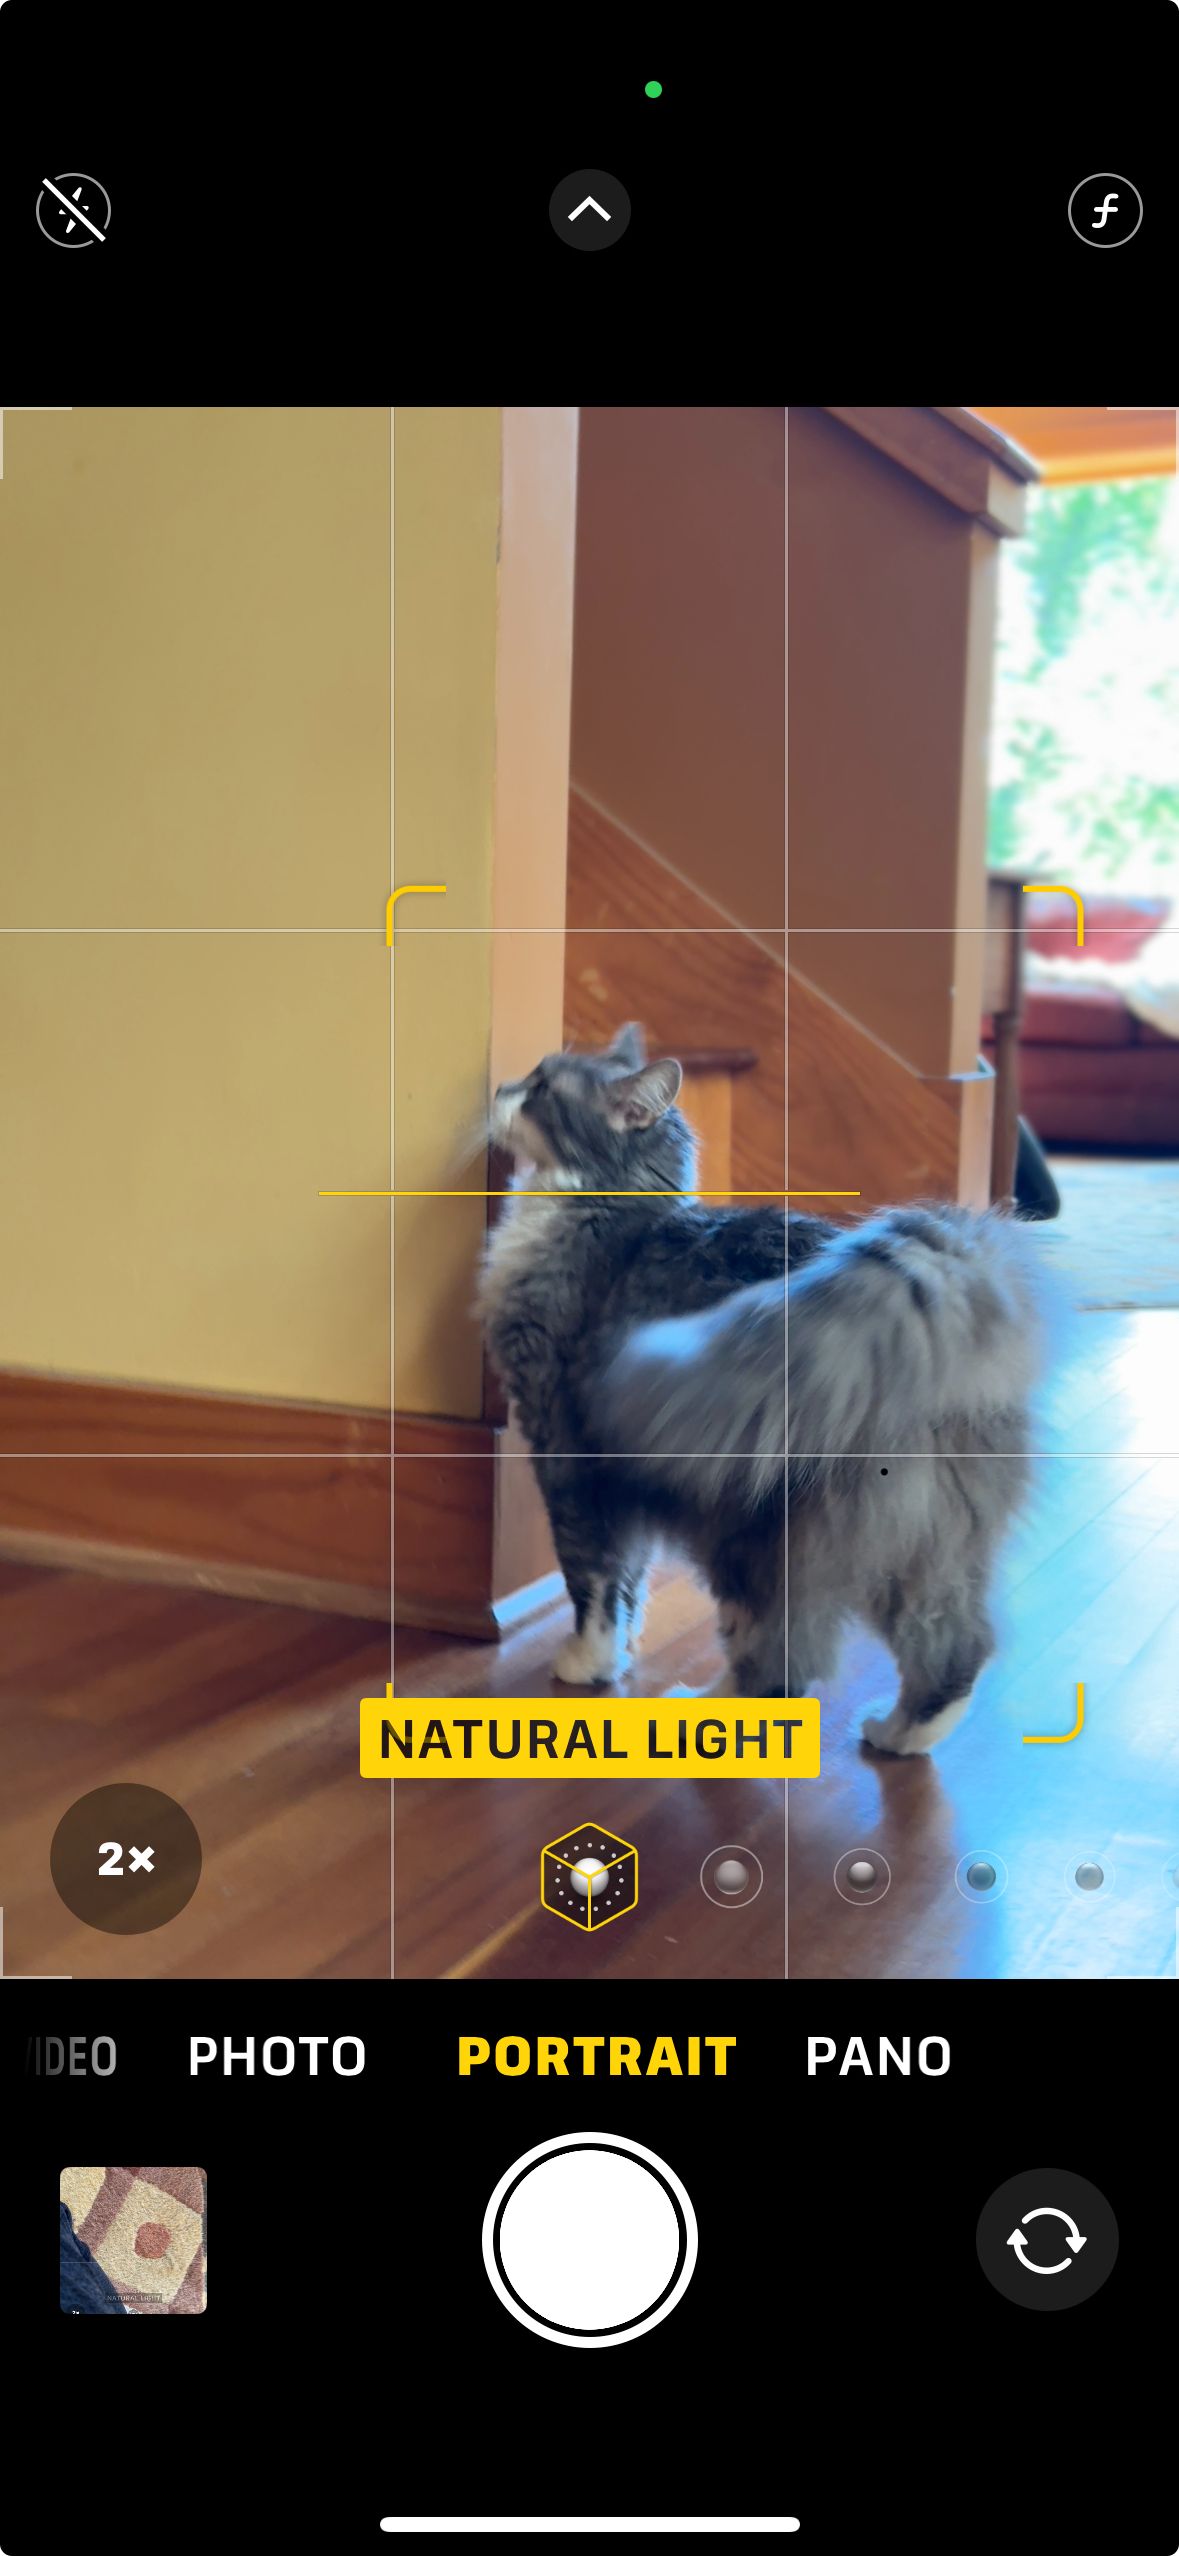
Grid Lines
Most cameras have a way to turn on a grid that divides the screen up into thirds. By placing the center of your subject on any of the lines, you are practicing the rule of thirds. This is Rosa wiping cat smut on the corner of our stairs but she is well framed using rule of thirds.
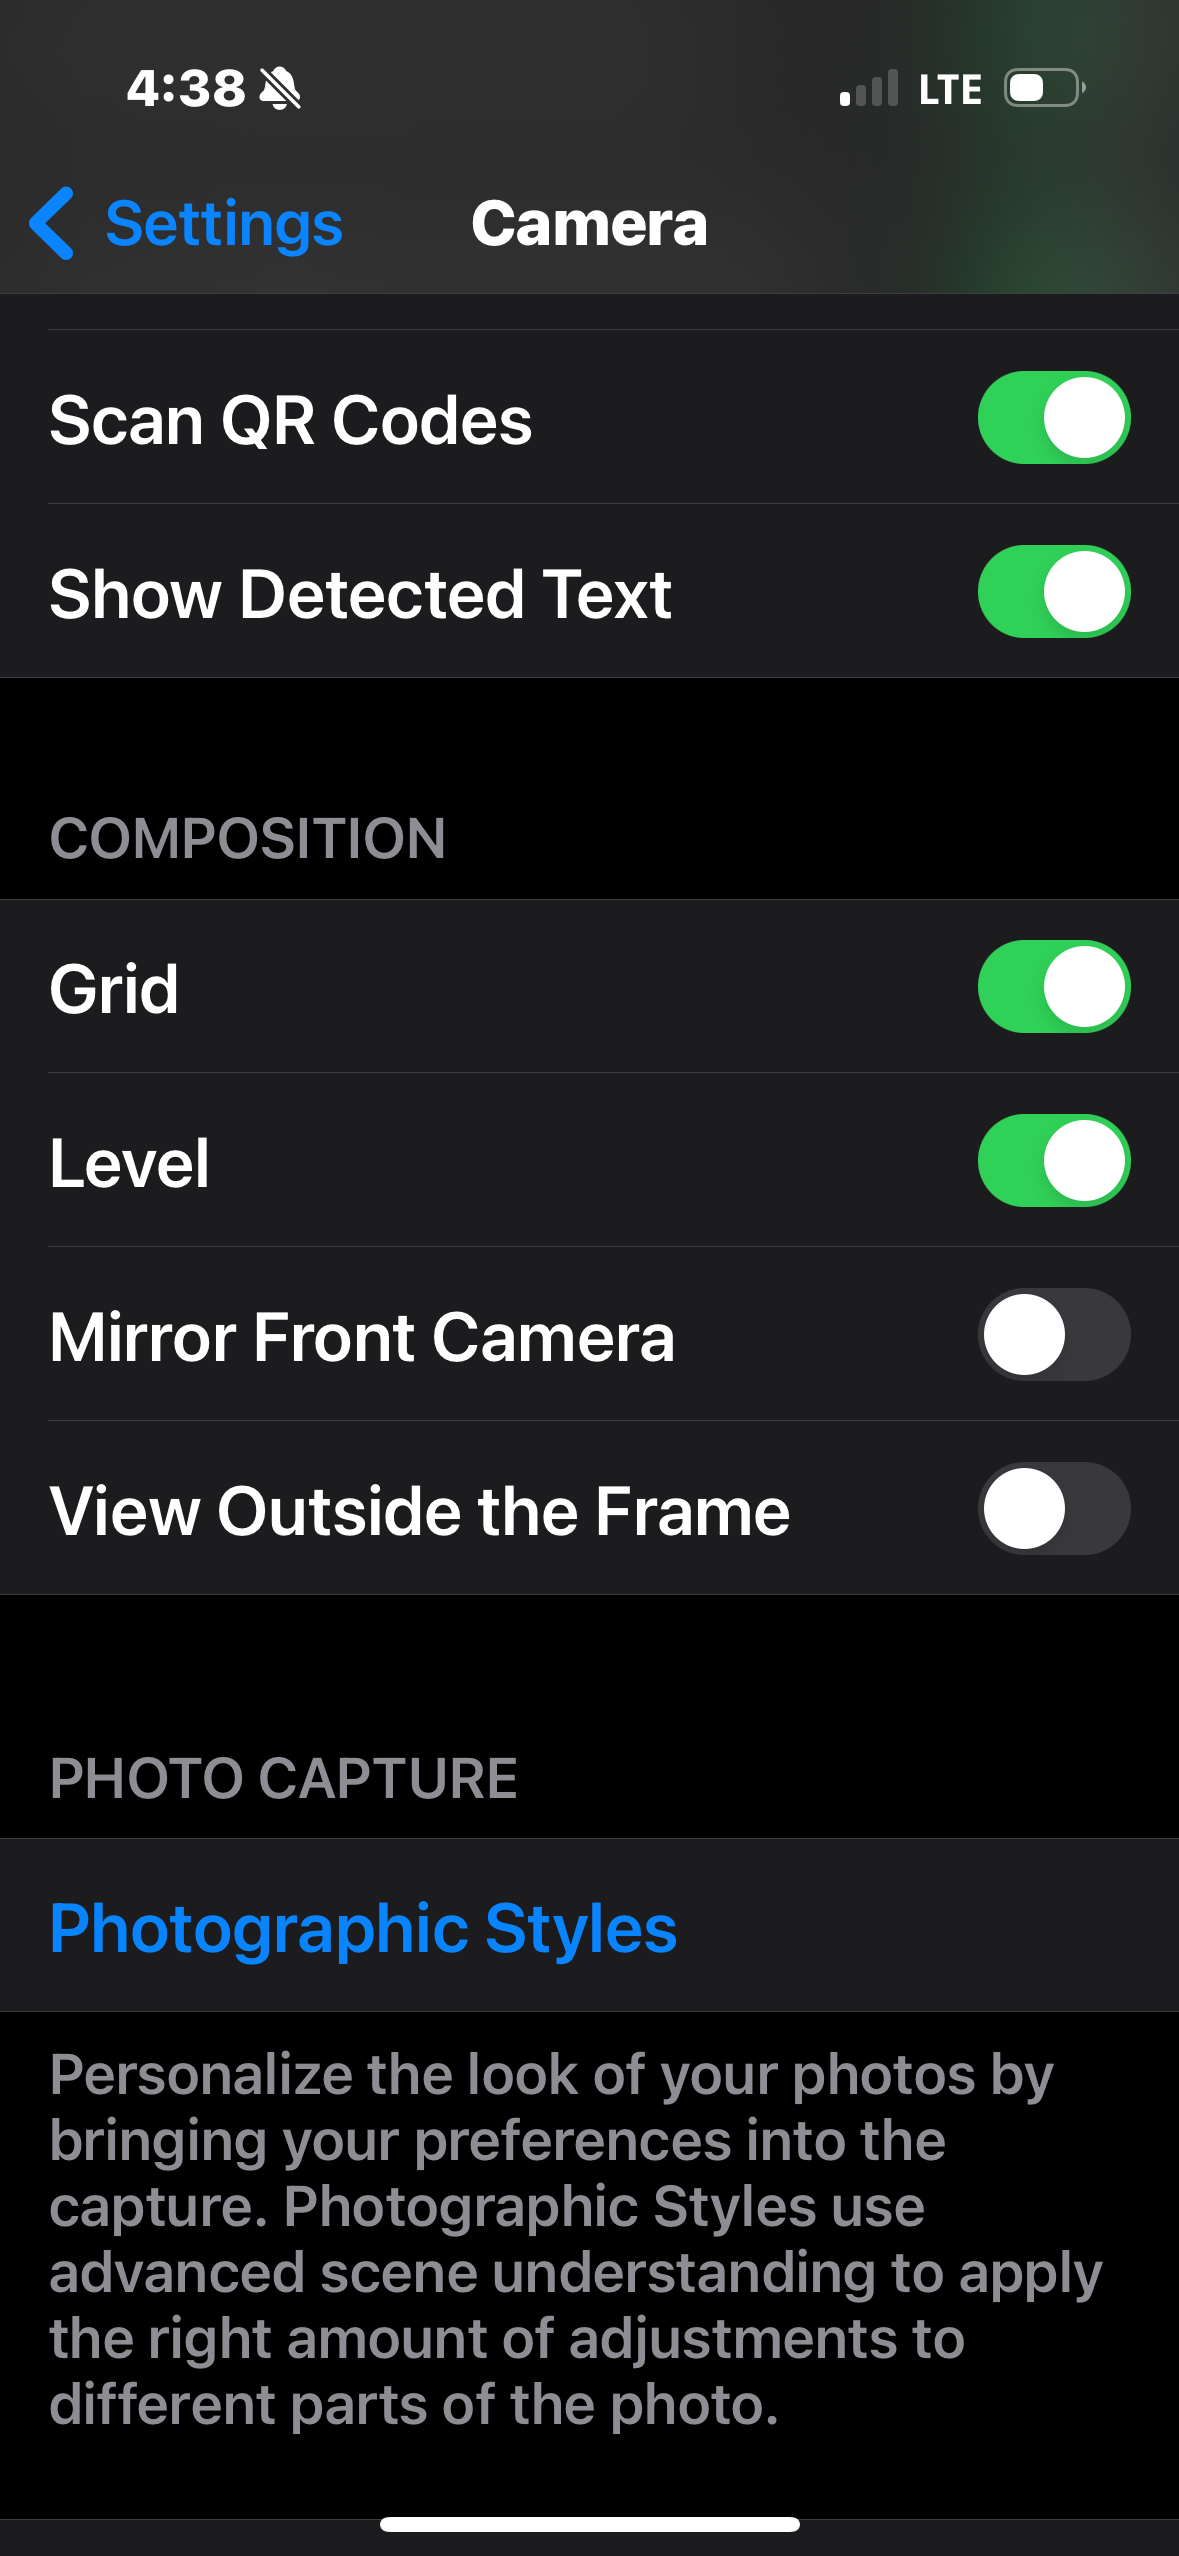
Turning on the Grid
For the iphone, go to Settings > Camera and slide on "Grid"
For the Android, go to the camera app, tap settings and turn on Grid Lines
Selecting a Lens
Zooming in without losing quality
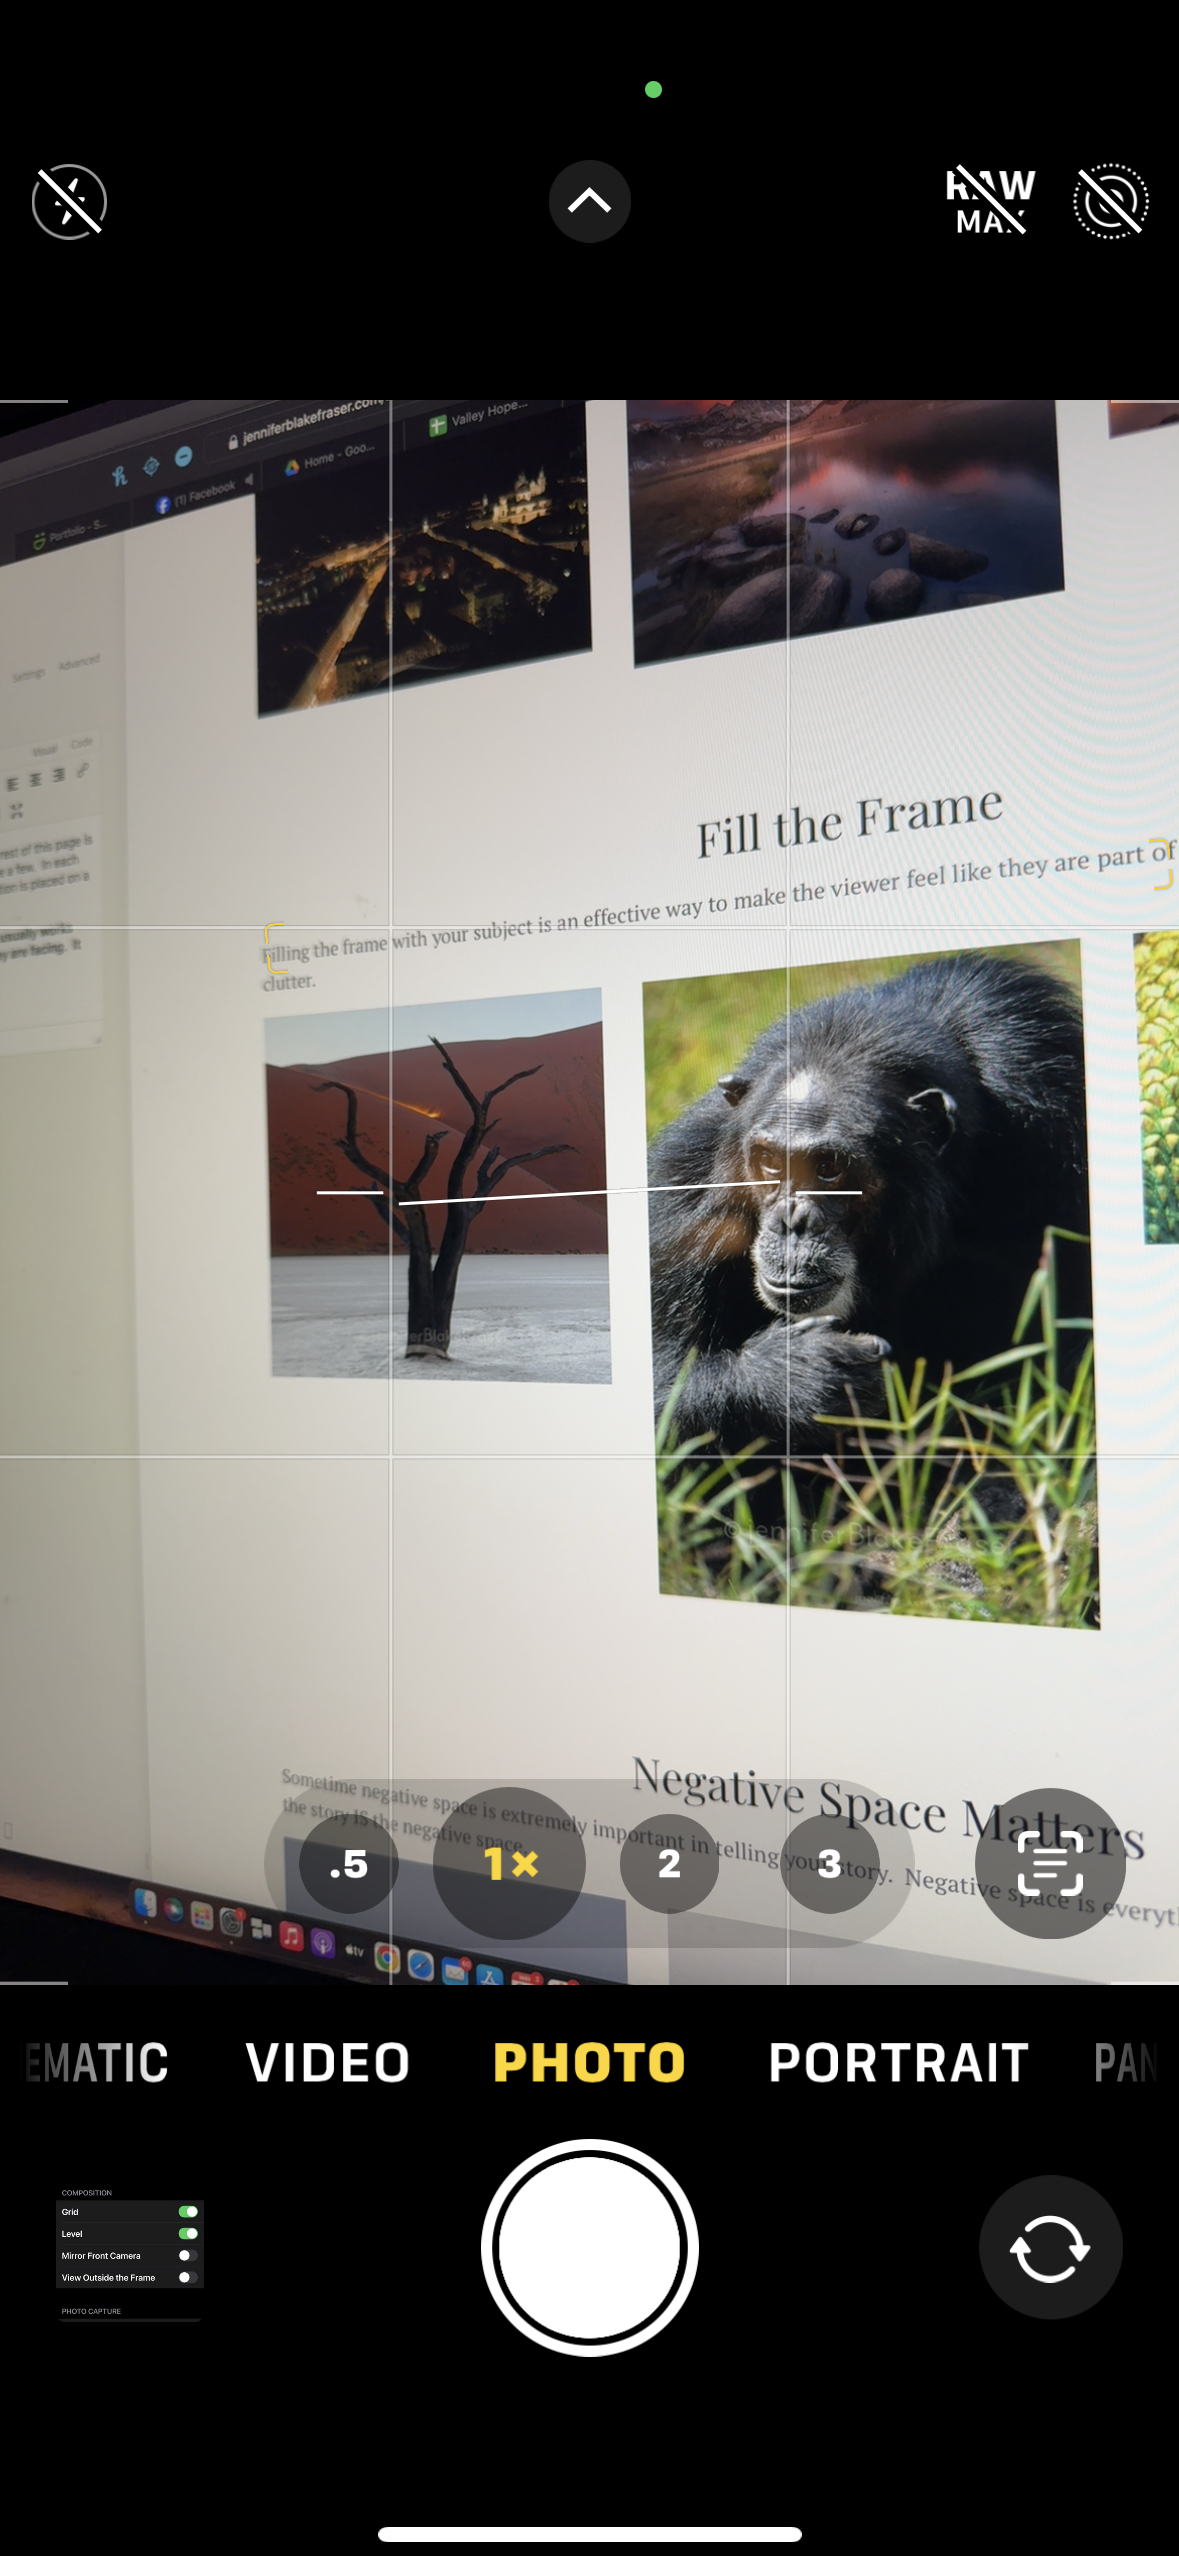
Newer phones give you multiple lenses you can select. Each lens will give you a different focal length (how wide or zoomed in the camera is).
- Optical Zoom - this is real magnification achieved by the lens that is selected.
- Digital Zoom - this is fake magnification achieved by cropping in on the area of interest resulting in a poorer quality image.
When you pinch to zoom you are mostly using digital zoom so depending on the lens that is selected and how much you zoom, you get somewhat to significantly poorer quality image.
Try to always tap on a number (i.e. .5, 1x, 2, 3) and use the view that gives - move your body if you need to be closer or further away if the view the number gives isn't quite right. If you pinch your screen to zoom in and zoom out, you are getting a much poorer quality image than if you tap the number. This is because the camera is still shooting from one of the main lenses (one of those main numbers) and if you zoom more than the selected lens can do, it just crops the image to "fake" the zoom resulting in a lower resolution image.
Long Exposure Using Live or Motion Photos
"Fake Long Exposure" On A Camera Phone
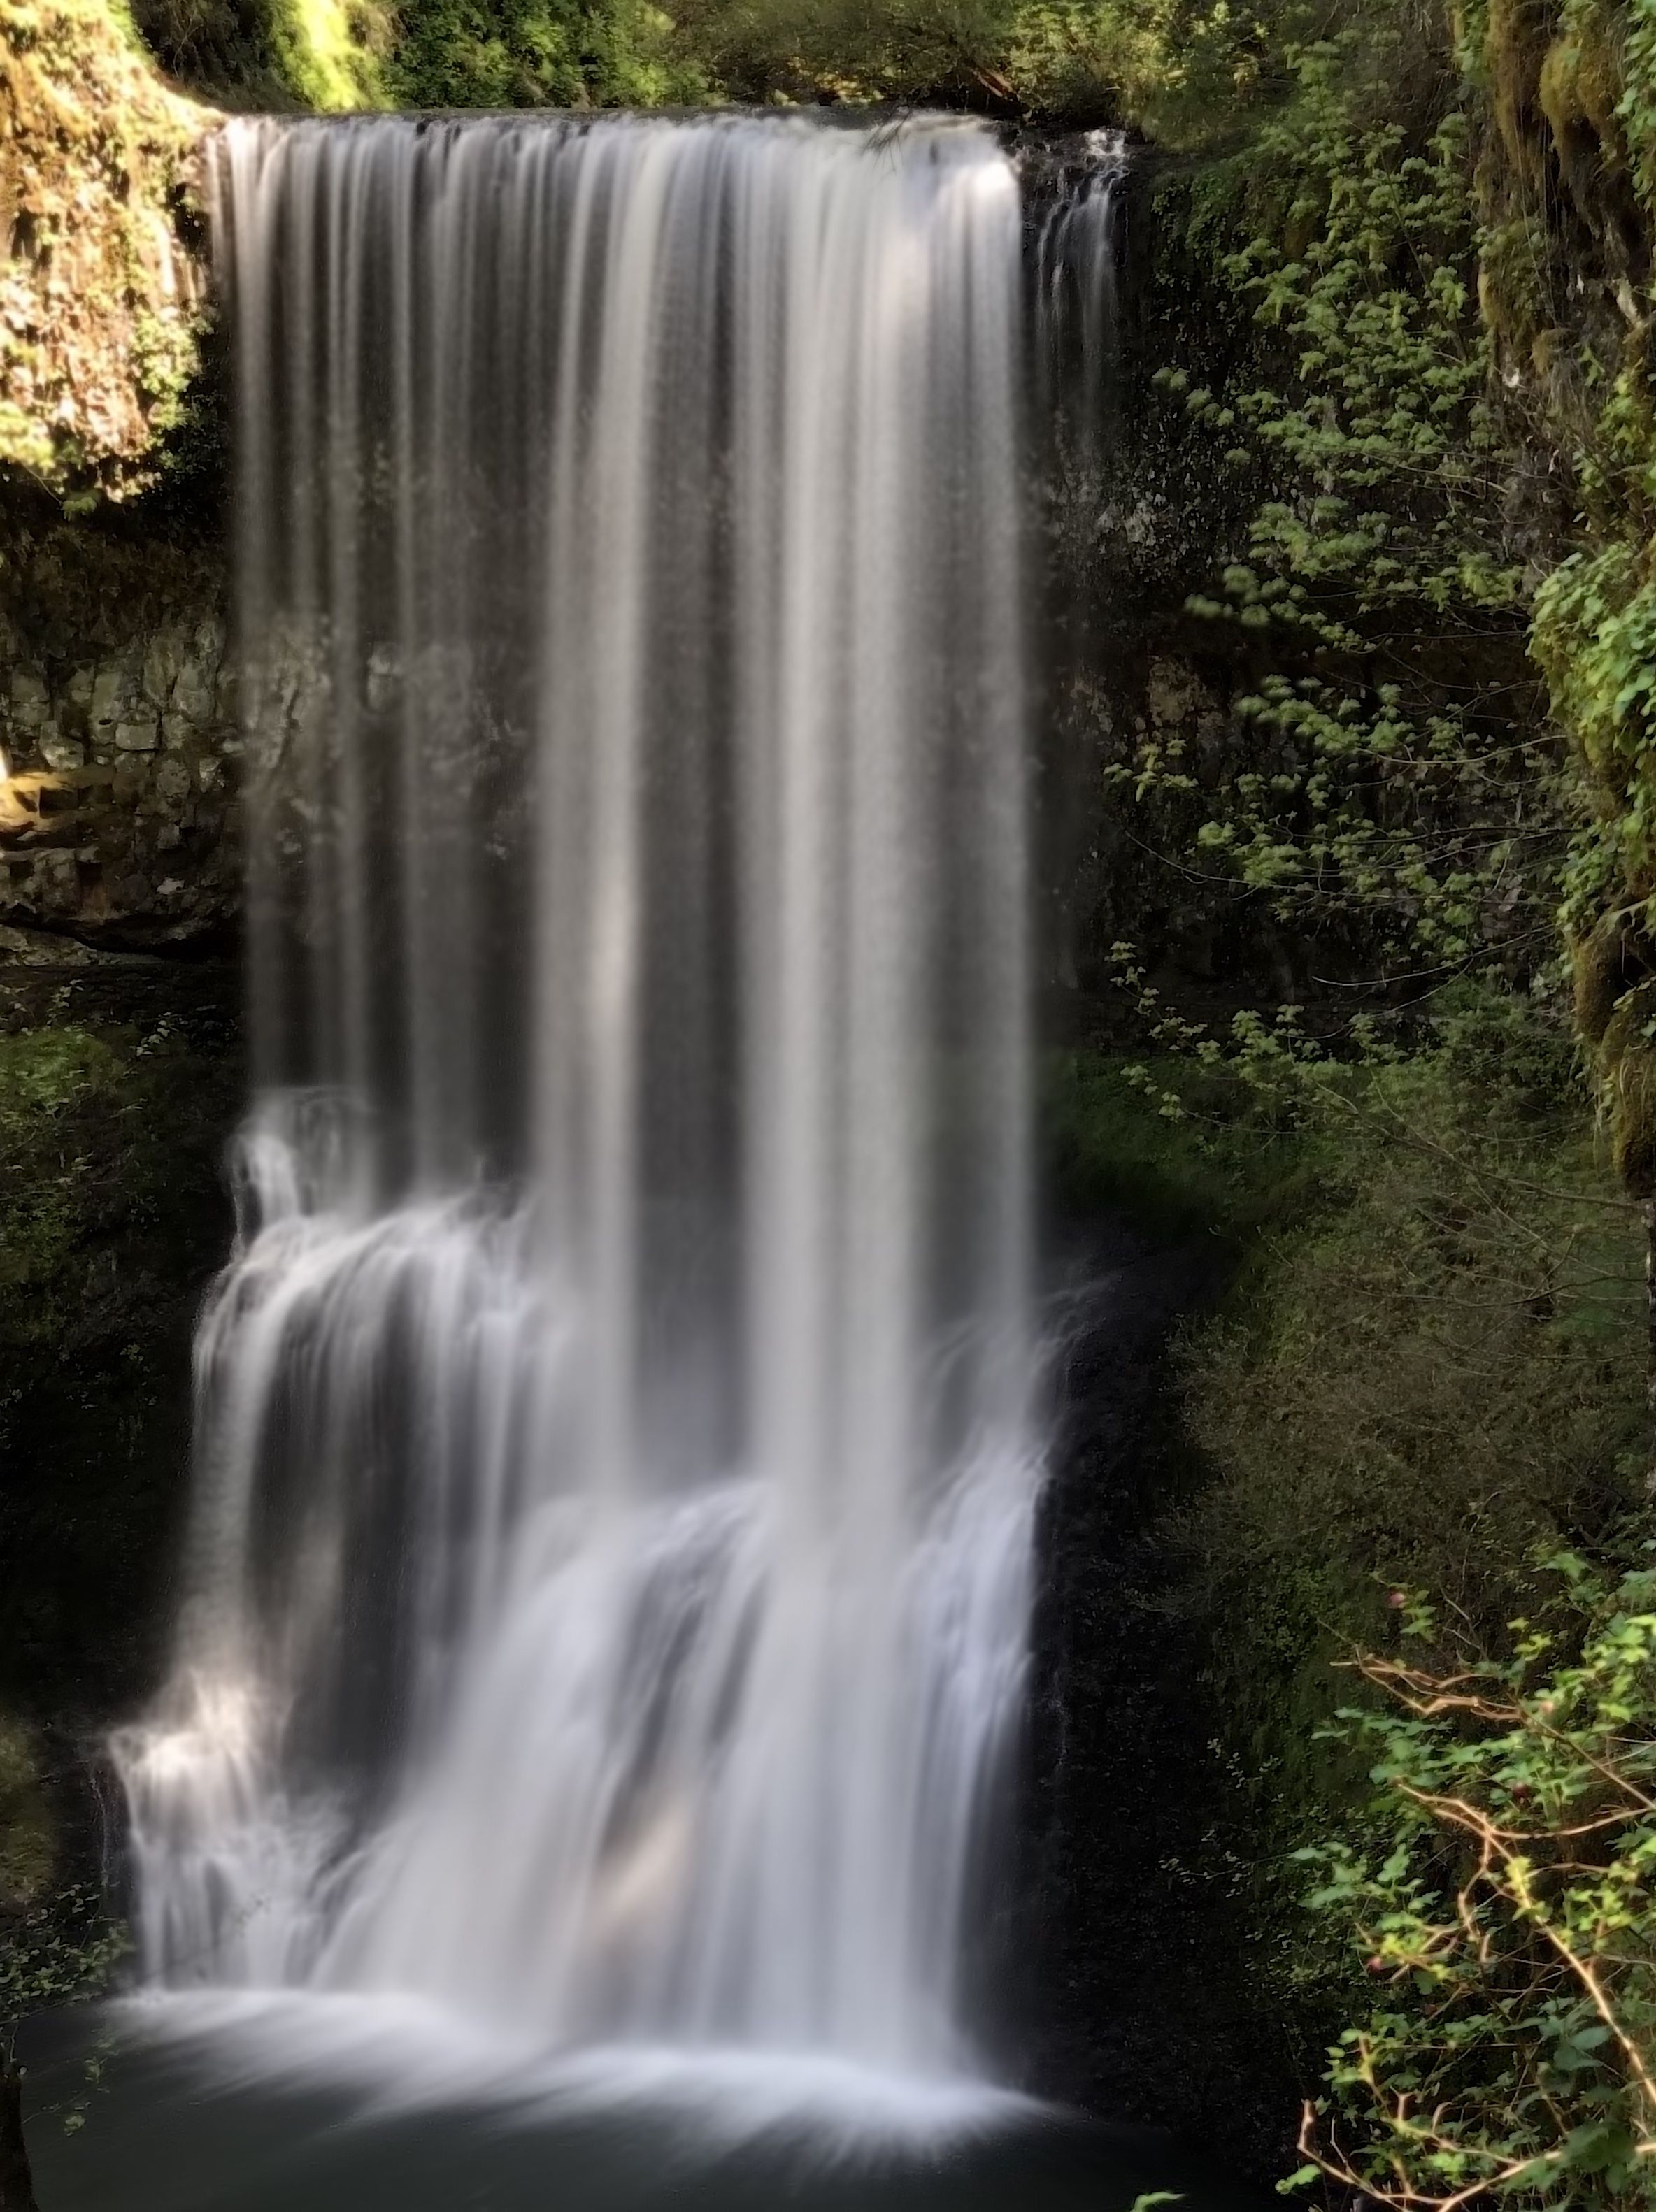
Many camera phones have the ability to take a "long exposure" image using live or motion photos.
What they are really doing is taking a series of images (usually with normal shutter speeds) and blending them so it's not quite the same as a true "long exposure" which uses slow shutter speeds.
I call this "fake long exposure".
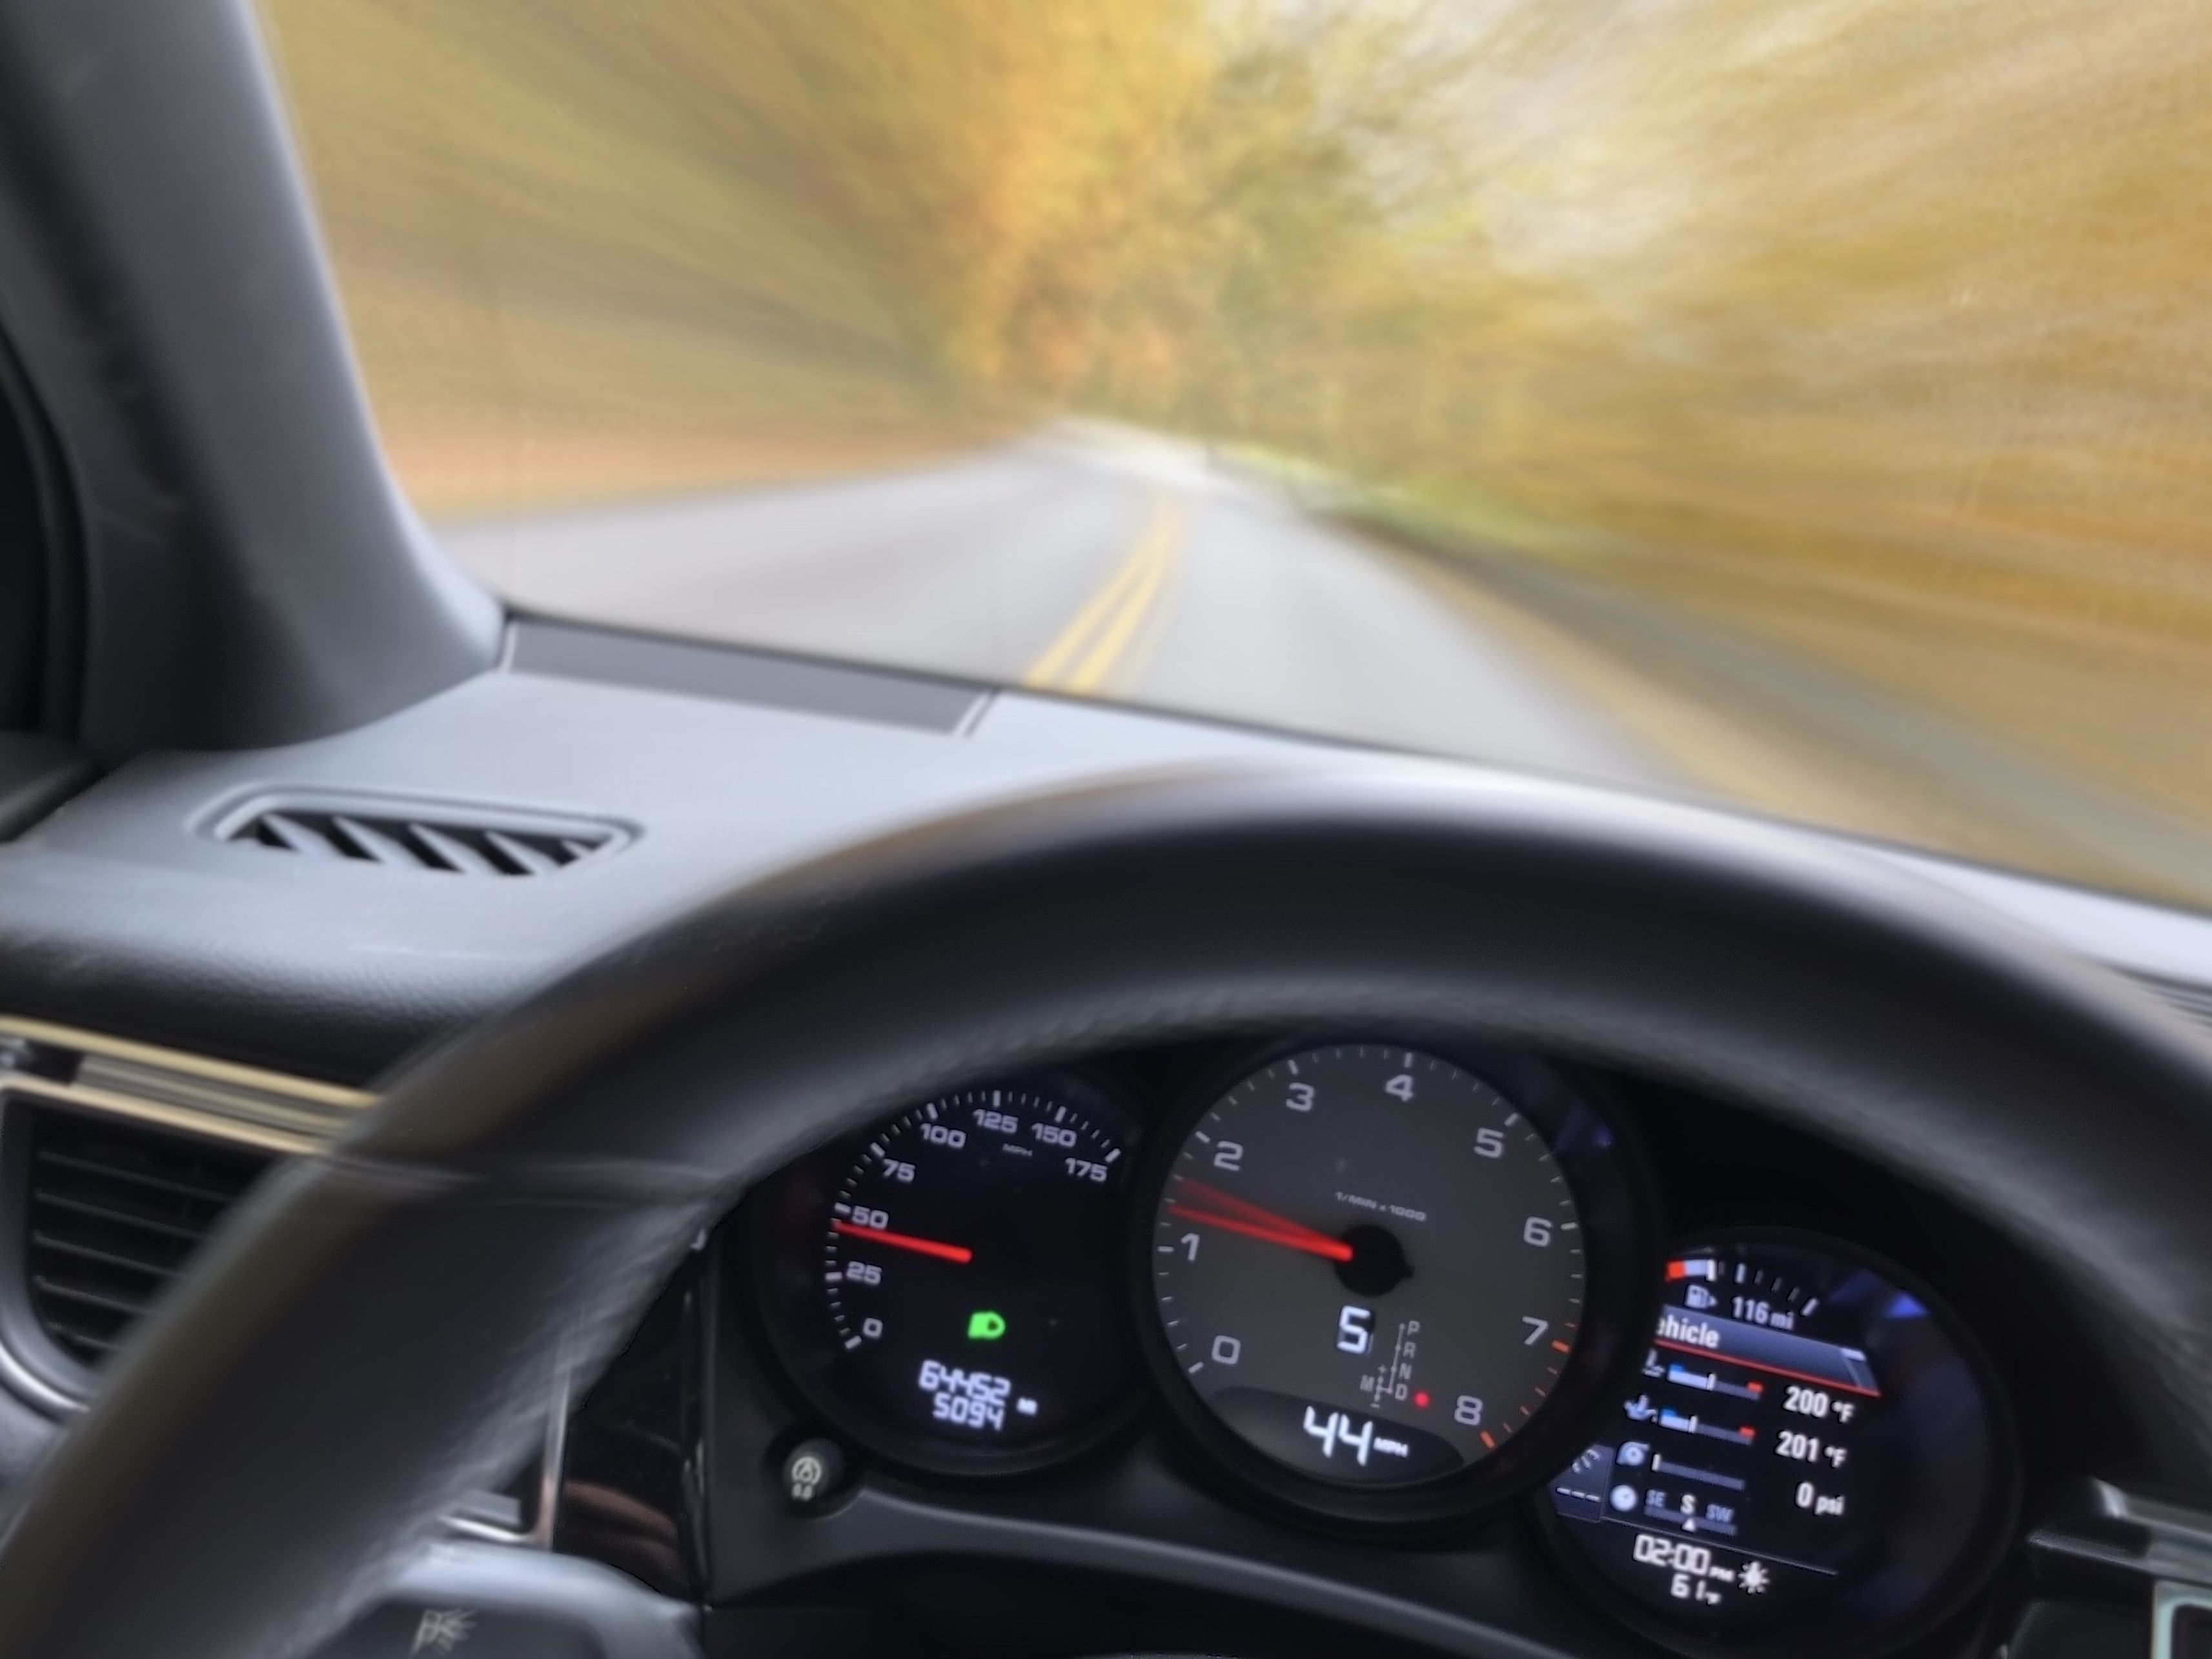
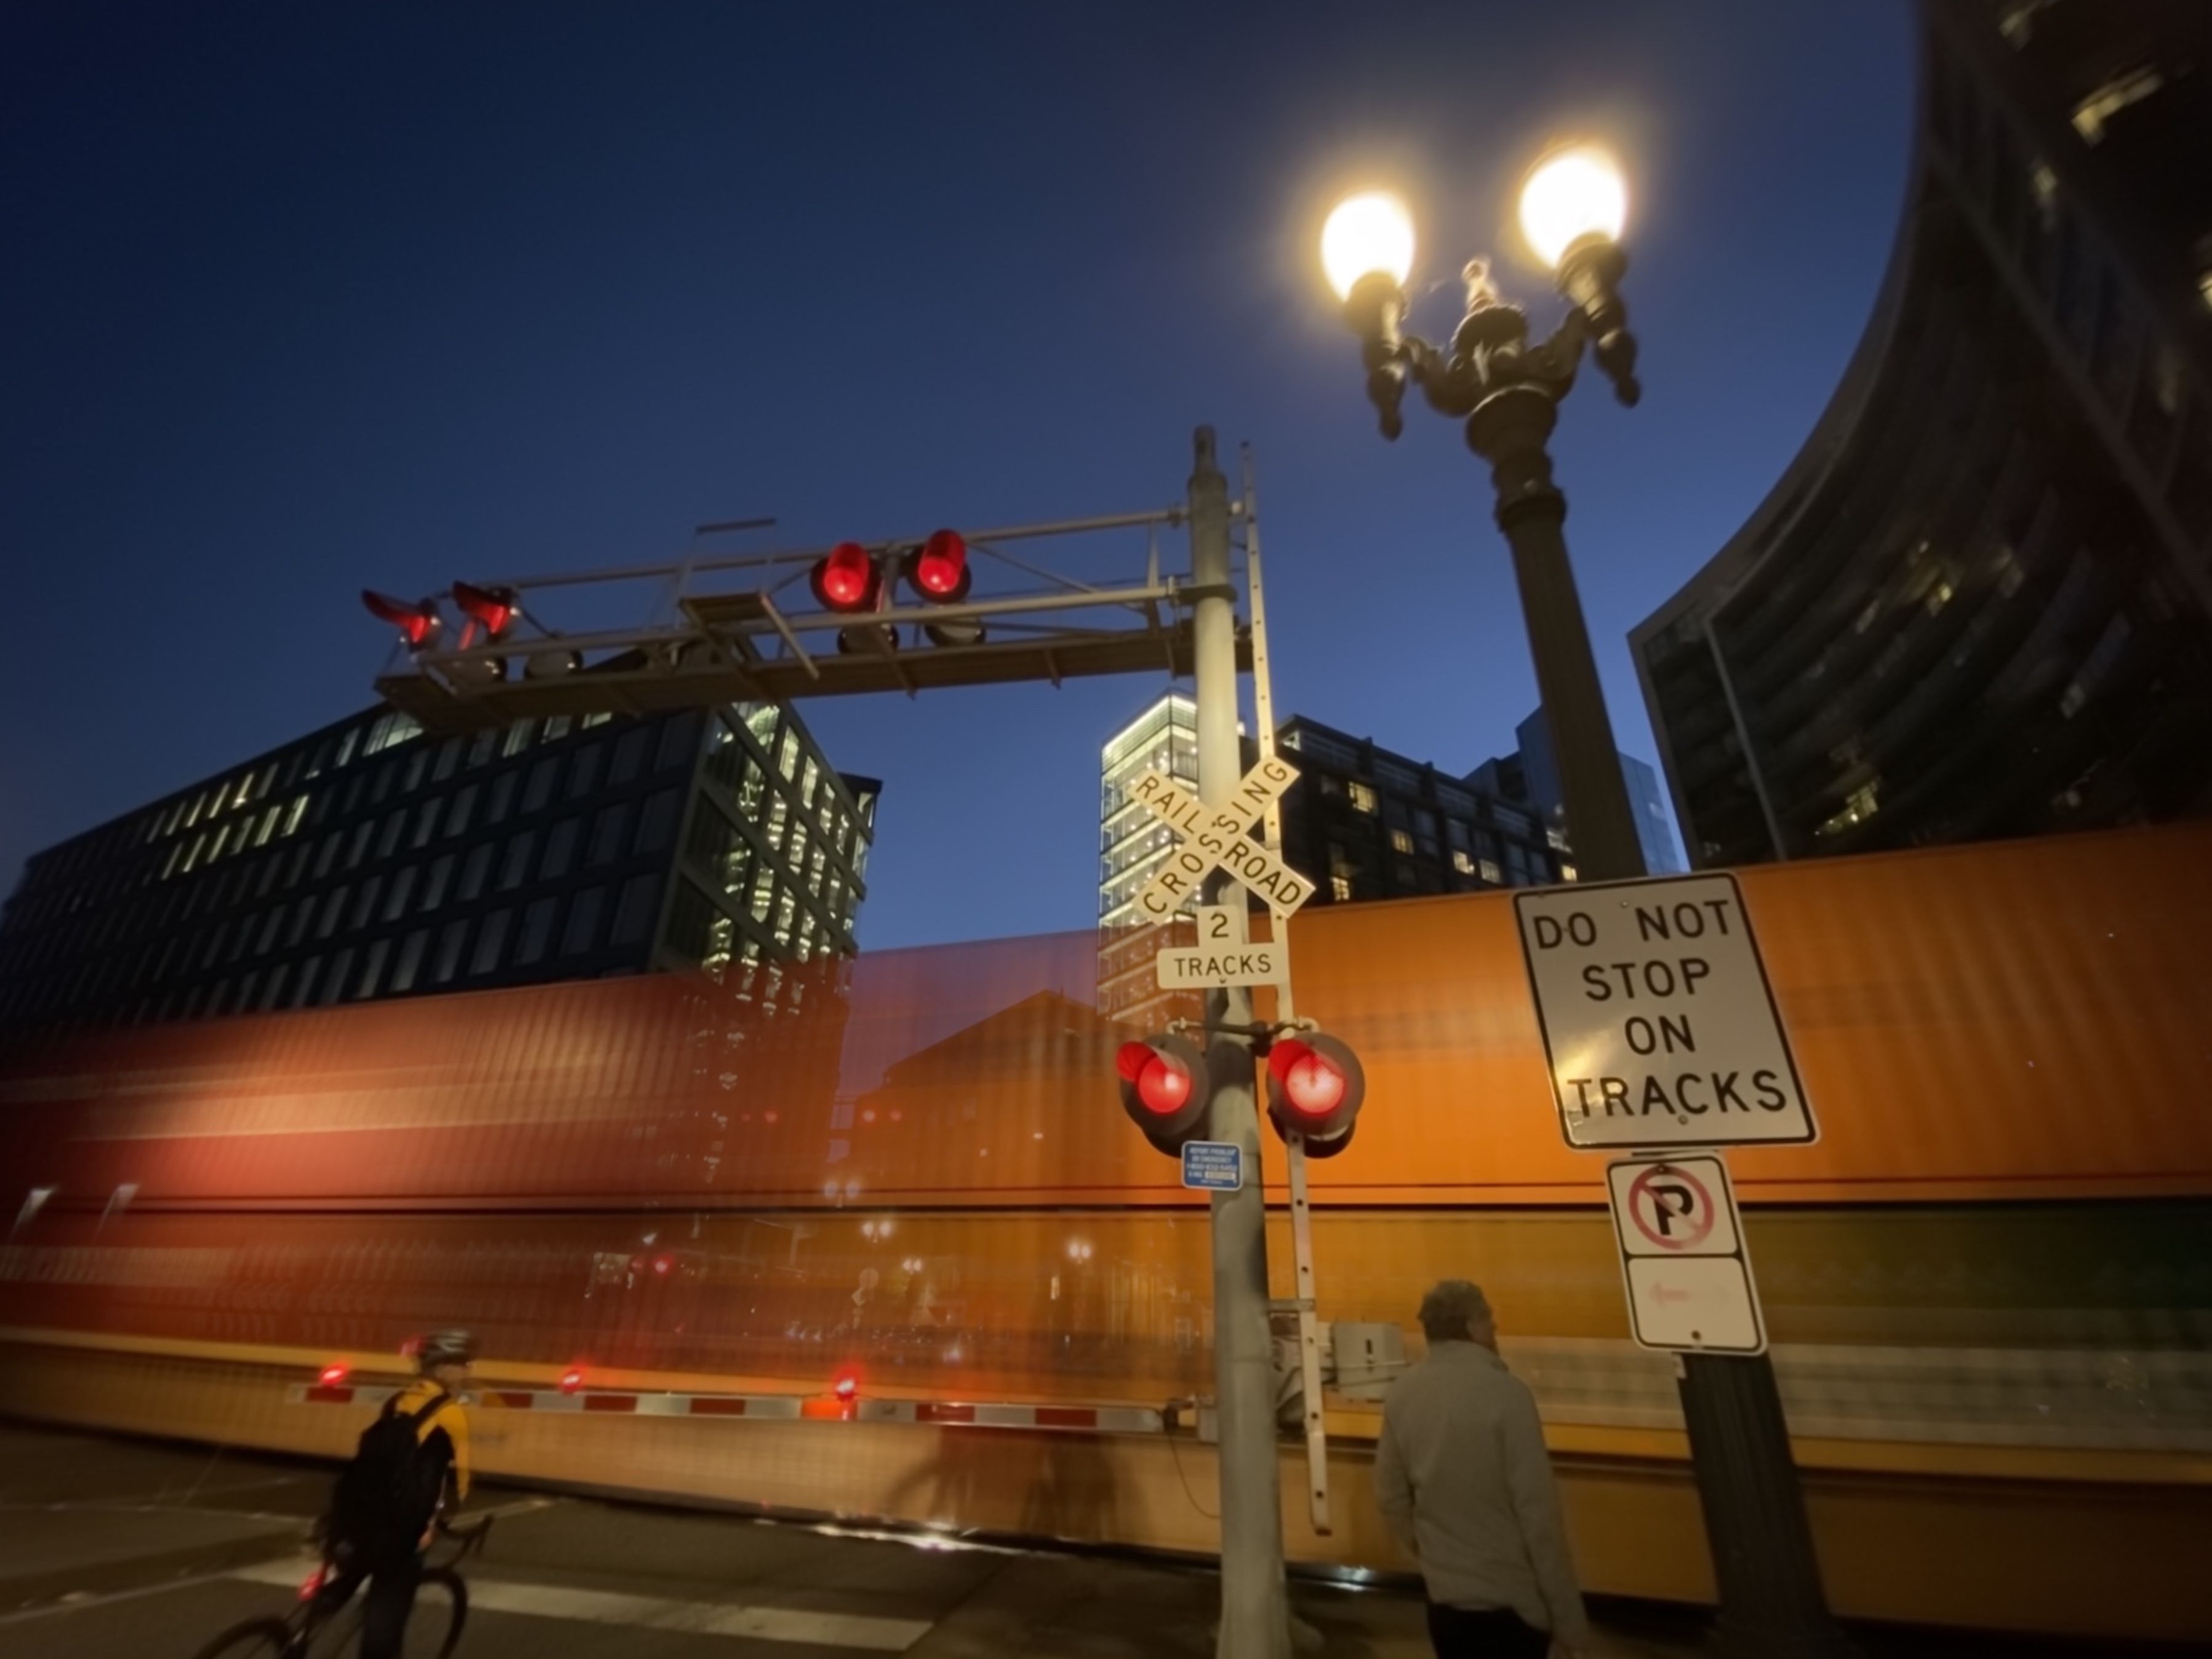
This will give the impression of a long exposure image showing blurred motion
(i.e. smooth water, streaks as a fast object goes by, etc) while still allowing you to hand hold a shot which is pretty cool!
iPhone Live Photo
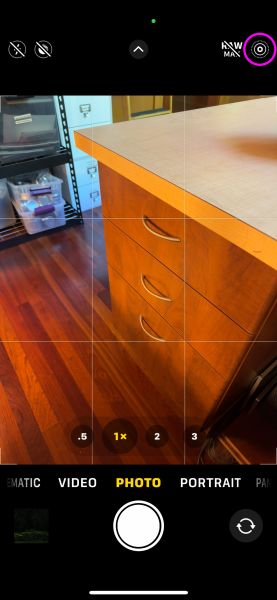
- Tap this icon in the upper right of your screen to toggle live photo on.
- Hold the camera very still for about 2 seconds BEFORE you tap the shutter (it's already recording)
- Tap the shutter and hold very still until you see the word "Live" disappear. (See Holding your Camera Phone for tips)
- Tap the tiny photo icon in the bottom left (or go to your photo album) to view your photo
- Tap the word "Live" (or swipe up on older phones)
- Select "Long Exposure" as the option.
Samsung Motion Photo
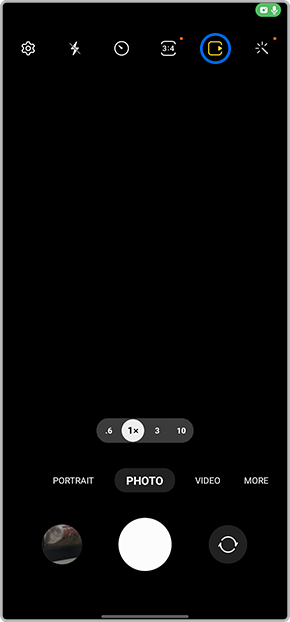
- Tap this icon in the upper right of your screen to toggle motion photo on.
- Hold the camera very still for about 2 seconds BEFORE you tap the shutter (it's already recording)
- Tap the shutter and hold very still until it's done (See Holding Your Camera Phone for tips).
- Tap "View Motion Photo"
- When viewing the photo swipe up
- Select "Long Exposure" as the option.
True Long Exposure
Most camera models are capable of some amount of true long exposure. Often this is called night mode or the capability is located in "pro mode". With true long exposure, long shutter speeds are used but you will need to stabalize the camera either on a tripod or propped on a surface.
iPhone Night Mode
Night mode will only work in low light conditions. Be sure to have live photo OFF and the maximum shutter speed possible is also determined by lighting and how much you move the camera. A maximum of 30 seconds is possible but you will likely need a tripod.
Depth of Field with Portrait Mode
Depth of Field is the amount of image that is in focus. Imagine all the space between the lens and the horizon. A shallow depth of field will only have a thin slice somewhere in that range in focus. A wide depth of field will have most/all of that range in focus.
Aperture is one of the things that can control depth of field. Most camera phones at this time have lenses with a single aperture (fixed lenses) so the aperture can not be adjusted like it can with manual cameras. This prevents us from being able to effect depth of field when setting exposure. However, the smart camera phone people figured out a way to "fake" depth of field with some fancy processing by building what's called a depth map and using that to "fake" depth of field.
You can acess this capability by using "Portrait Mode" on most cameras. Portrait mode will try to figure out what the subject is in your photo then blur everything in front and behind your subject. Some cameras even allow you to control the amount of blur and they use aperture numbers for the controls.
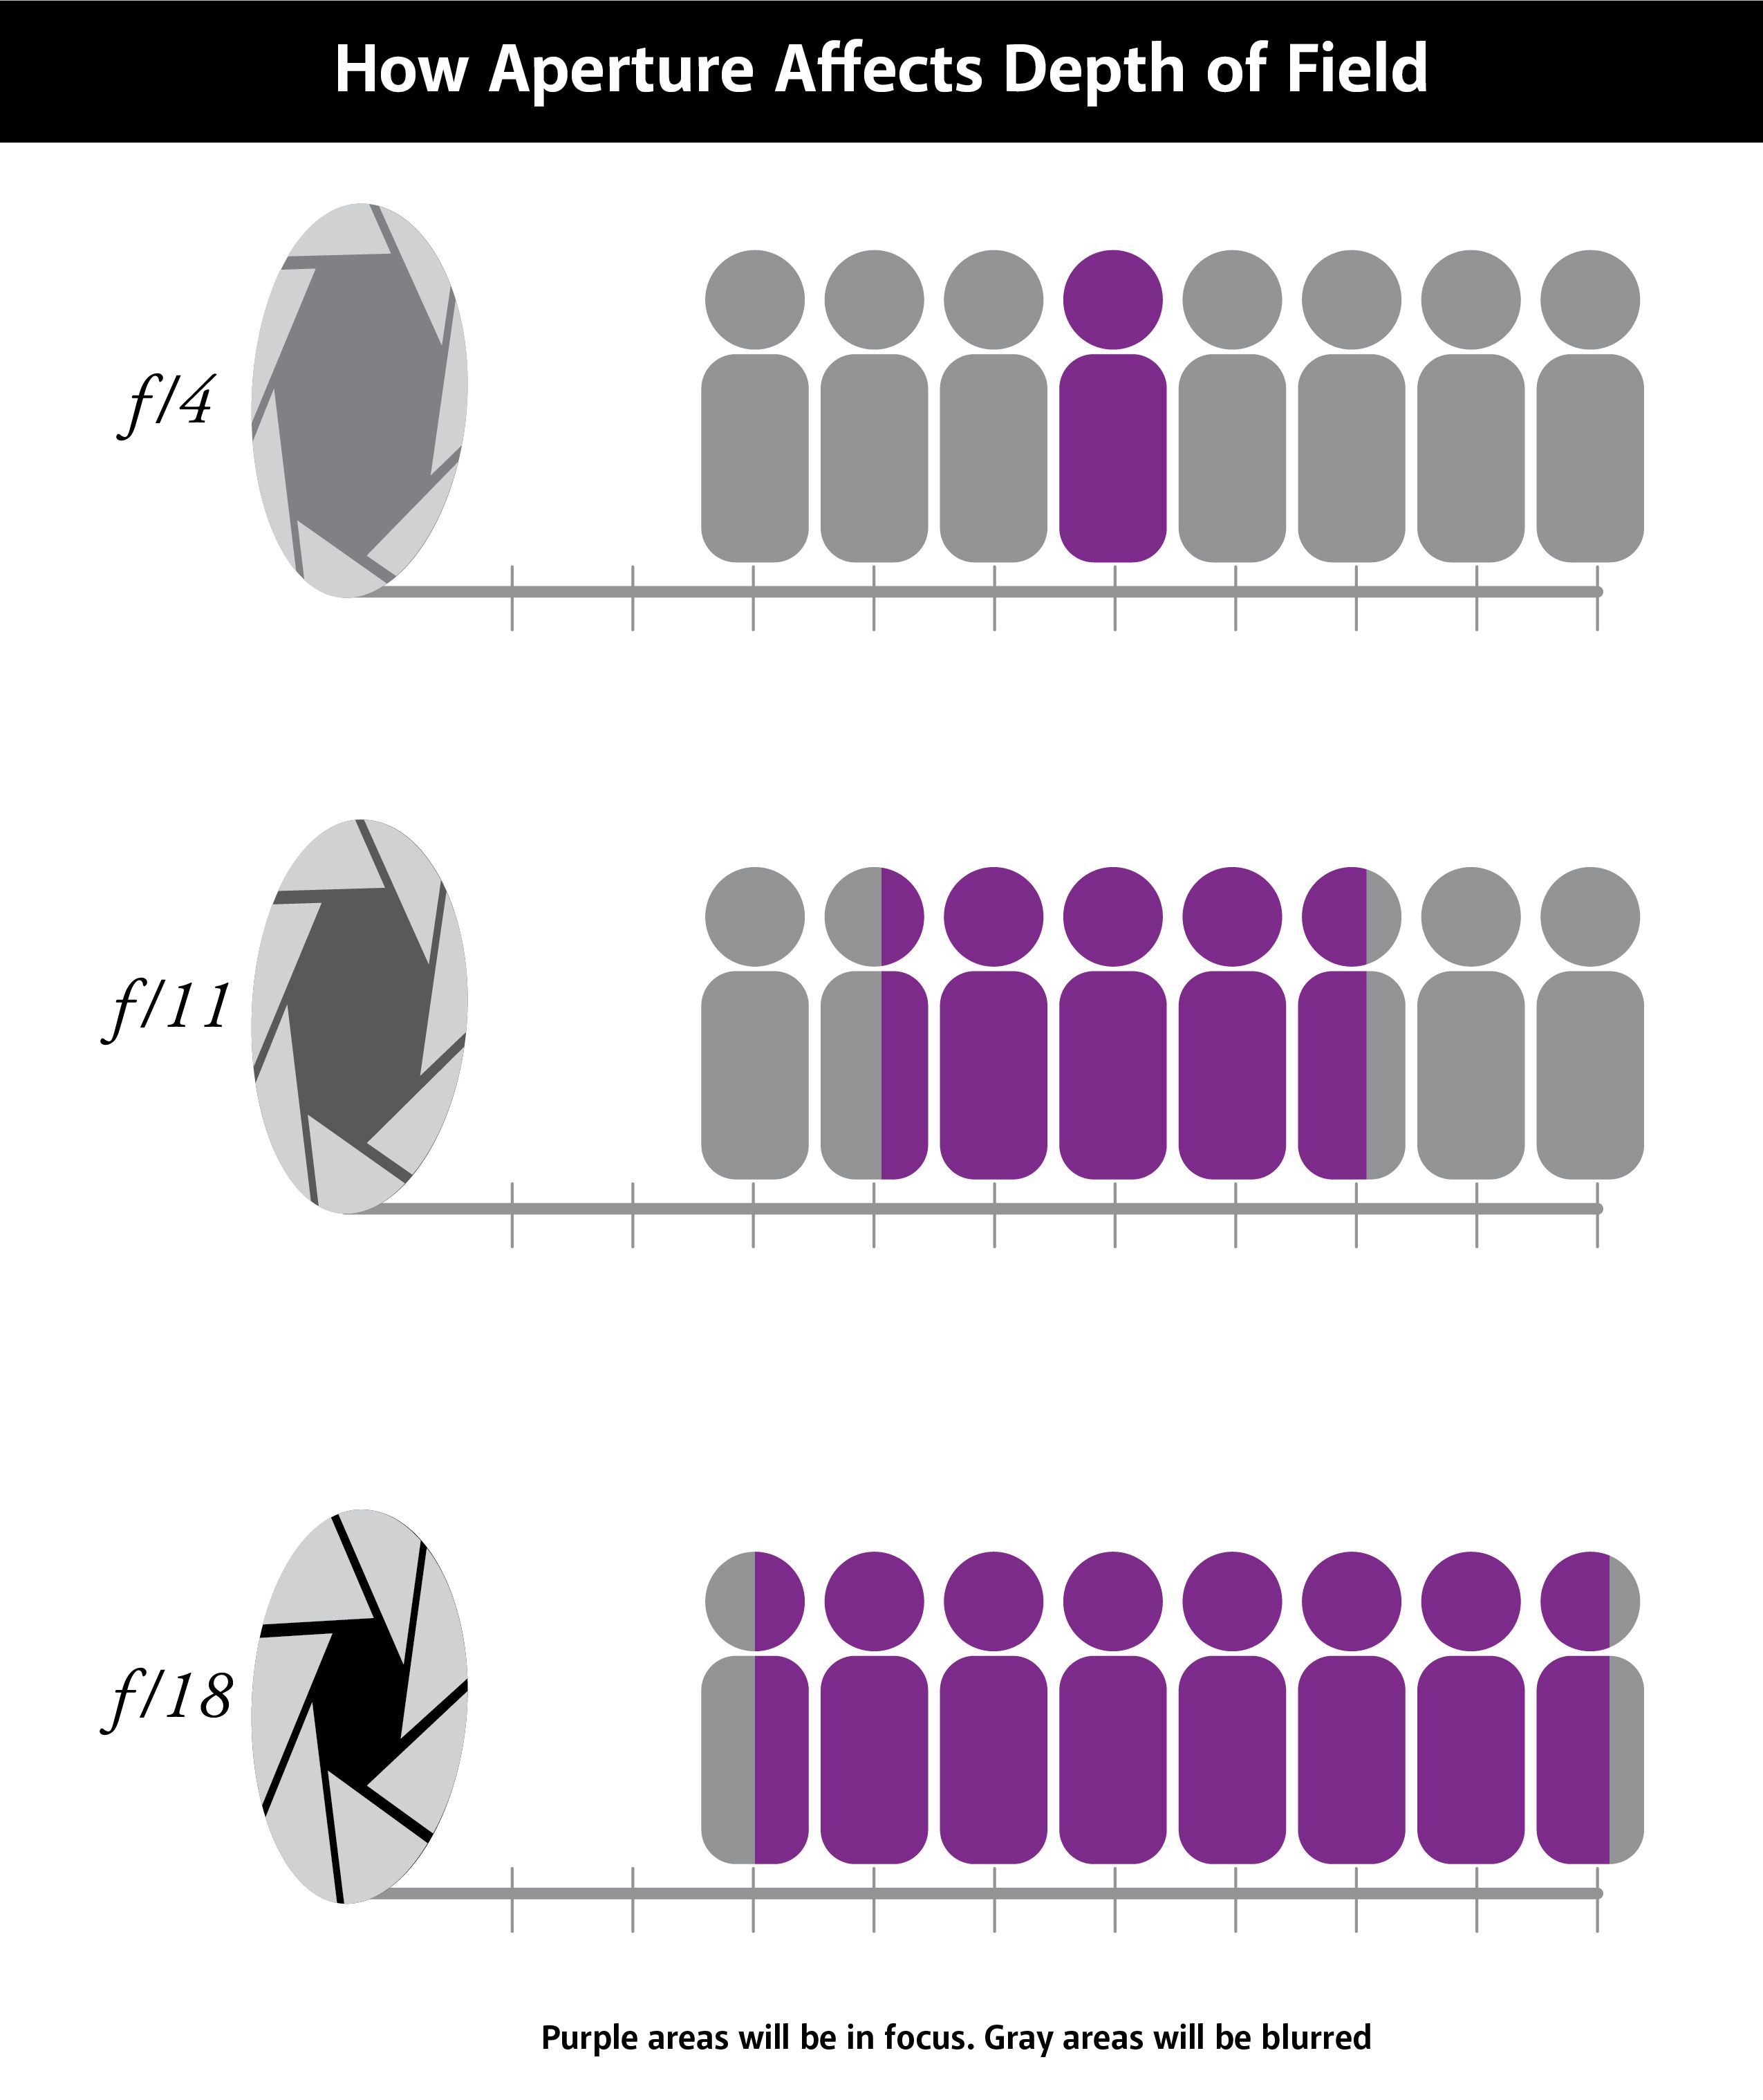
The lower the aperture number the more shallow the depth of field.

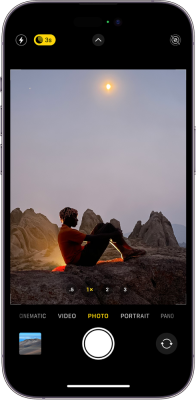
The above image was taken at f2.8
